.NET Core is gradually becoming quite a popular platform these days, and one of the reasons for that is its cross-platform features and a neat command line interface which allows creating boilerplates, running and building applications with simple yet highly configurable commands.
So one time, after spending a weekend looking around what ASP.NET Core offers, I decided to create a sandbox for my .NET Core experiments using a Raspberry Pi I happen to have on my hands. Naturally, I expected setting up to be something like: install the runtime, dotnet app.dll. Well... it was not the case. But after spending several evenings trying different configurations from the web (and ending up with tons of ridiculously undescriptive error messages), I came up with the following steps that worked just fine.
My setup
- Raspberry Pi 3 Model B v1.2
- Ubuntu Server 18.04.2 installed on Raspberry Pi with enabled openssh-server
- My laptop with preinstalled .NET Core SDK
Creating a boilerplate app
Once you have .NET Core SDK installed, you can list available templates with:
dotnet new -l
For this example, let's create a webapp. Since I have multiple SDK versions installed, I'm going to specify that I want a .NET Core 2.2 application using a global.json file:
mkdir test
cd test
dotnet new globaljson --sdk-version 2.2.107
Then to generate the app itself:
dotnet new webapp
You can make sure the application has been created properly right away by running:
dotnet run
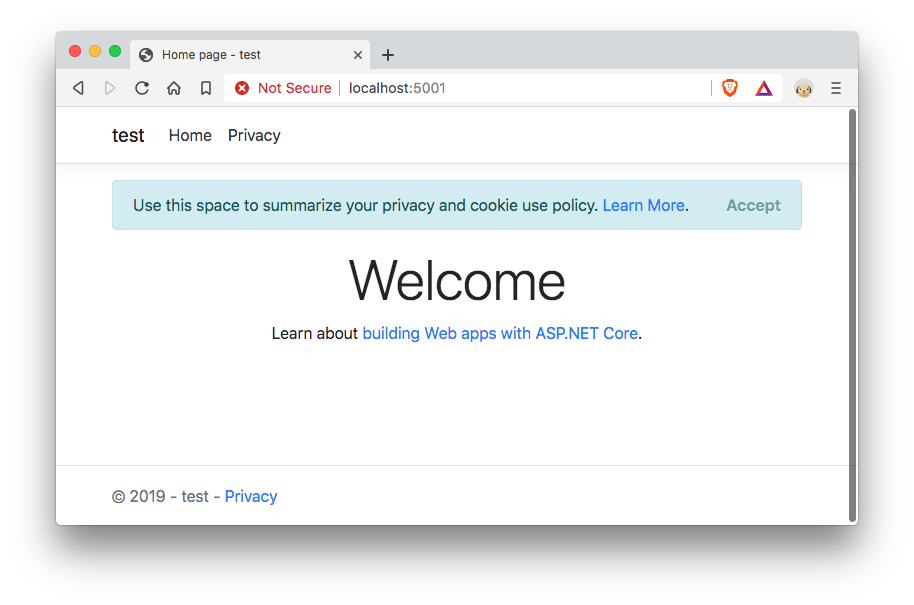
Now your boilerplate app is running on http://localhost:5000

Hosting on Pi. The easy way
The easiest way to run your app on a Raspberry Pi is using a .NET Core's self-contained deployments (SCD). This way an appropriate runtime will be shipped with your application - ready to run with a single console command.
Let's create one of those:
dotnet publish -f netcoreapp2.2 -c Release -r ubuntu.18.04-arm64 -o ~/test_build ./
The -r parameter is the key here. You can use it to specify a runtime identifier and state that you need a self-contained deployment. A full list of available runtime identifiers can be found here. I could go with a linux-arm64 runtime here, but I'm specifying an ubuntu.18.04-arm64 runtime because I can.
Expect the build to be quite large since it contains everything you need to run your application on a specified system.
Now I'm going to copy the published app to my Raspberry over ssh:
scp -r ~/test_build ubuntu@<raspberry host>:/home/ubuntu/testapp
And I'm ready to launch the server on my Raspberry:
cd /home/ubuntu/testapp
chmod +x test
./test
At this point, you'll see your ASP.NET Core server running on http://localhost:5000. Pretty cool. Now let's make it a systemd service.
We'll need to create a /etc/systemd/system/testapp.service file with the following contents:
[Unit]
Description=An example ASP.NET Core app

[Service]
WorkingDirectory=/home/ubuntu/testapp
ExecStart=/home/ubuntu/testapp/test
Restart=always
# Restart service after 10 seconds if the dotnet service crashes:
RestartSec=10
KillSignal=SIGINT
SyslogIdentifier=testapp
User=www-data
Environment=ASPNETCORE_ENVIRONMENT=Production
Environment=DOTNET_PRINT_TELEMETRY_MESSAGE=false

[Install]
WantedBy=multi-user.target
Then run:
sudo systemctl enable testapp.service
sudo systemctl start testapp.service
Now we can try navigating to our homepage...
curl http://localhost:5000
...and also watch the server's output:
journalctl -u testapp -f
Ok, but how about hosting this on port 80? We can do an nginx reverse proxy here:
sudo apt install nginx
sudo service nginx start
Then replace contents of the /etc/nginx/sites-available/default with:
server {
    listen        80;
    server_name   <your host name / public ip>;
    location / {
        proxy_pass         http://localhost:5000;
        proxy_http_version 1.1;
        proxy_set_header   Upgrade $http_upgrade;
        proxy_set_header   Connection keep-alive;
        proxy_set_header   Host $host;
        proxy_cache_bypass $http_upgrade;
        proxy_set_header   X-Forwarded-For $proxy_add_x_forwarded_for;
        proxy_set_header   X-Forwarded-Proto $scheme;
    }
}
After that let's check the syntax of the file and apply changes with:
sudo nginx -t
sudo nginx -s reload
Now for our project itself. We'll need to edit Startup.cs file and append the following code to the Startup.Configure method:
app.UseForwardedHeaders(new ForwardedHeadersOptions
{
    ForwardedHeaders = ForwardedHeaders.XForwardedFor | ForwardedHeaders.XForwardedProto
});
before the application's authentication routine is set up (ex. before app.UseAuthentication() call). Save and redeploy as the first time. Restart the server:
sudo systemctl restart testapp.service
And you have your application running on port 80 of your Raspberry Pi 3.
Hosting on Pi. Shared runtime
Now, it is not very comfortable to generate SCDs for each update and each application you need to run on the Raspberry: they are large, they take longer to deploy and they can only be used for a single system configuration, specified with a runtime identifier. So can we have a shared runtime installed and use smaller cross-platform framework-dependent deployments (FDD)? Kind of.
On the extended list of available .NET Core downloads, you can find a .NET Core runtime (or even SDK) binaries for a Raspberry Pi 3. You're looking for Linux .NET Core Binaries for ARM64. Notice how there's no link for ASP.NET framework for ARM64? Yeah. The good news, we'll have one with .NET Core 3.0 where full native support of ARM64 is promised. With .NET Core 2.2 you are limited to ensuring your ASP.NET application deployment carries everything it needs or using ARM32 ASP.NET Core binaries by enabling your Raspberry to run them.
If you still want to have at least .NET Core runtime on your Pi, here's a way to install that:
curl -SL -o dotnet-runtime.tar.gz https://download.visualstudio.microsoft.com/download/pr/7aca89ca-5196-4b89-93bc-1ee1eeb251d7/ca4ff94c8692a6846a756fc07174974d/dotnet-runtime-2.2.5-linux-arm64.tar.gz
sudo mkdir /usr/share/dotnet
sudo tar -zxf dotnet-runtime.tar.gz -C /usr/share/dotnet
rm dotnet-runtime.tar.gz
sudo ln -s /usr/share/dotnet/dotnet /usr/bin/dotnet
You are also free to select another binaries version from the download page. To install the SDK, make sure you also have these requirements:
sudo apt install liblttng-ust0 libcurl4 libssl1.0.0 libkrb5-3 zlib1g libicu60
I have also found a very good tip about setting up a .NET Core environment in this note.
Pro tip: Check out .NET Core Docker files to determine the exact instructions for installing .NET Core builds, for example .NET Core 2.2 ARM32 SDK Dockerfile.
Once your binaries are set up, you can check your global dotnet availability by running
dontent --info
How self-contained SCDs are?
Somewhat self-contained. You are ready to go with a single command in case of a simple ASP.NET Core MVC app (like the one created from webapp template), but do not expect dotnet to resolve every dependency for you by stating a target platform in a publish script.
For example, while trying to run a Miniblog.Core (a nice little stand-alone blog engine for .NET Core) SCD instance, I found out that it expects a globally installed libsass to build its scss files with the WebOptimizer middleware.
sudo apt install libsass-dev
did the trick here.
